
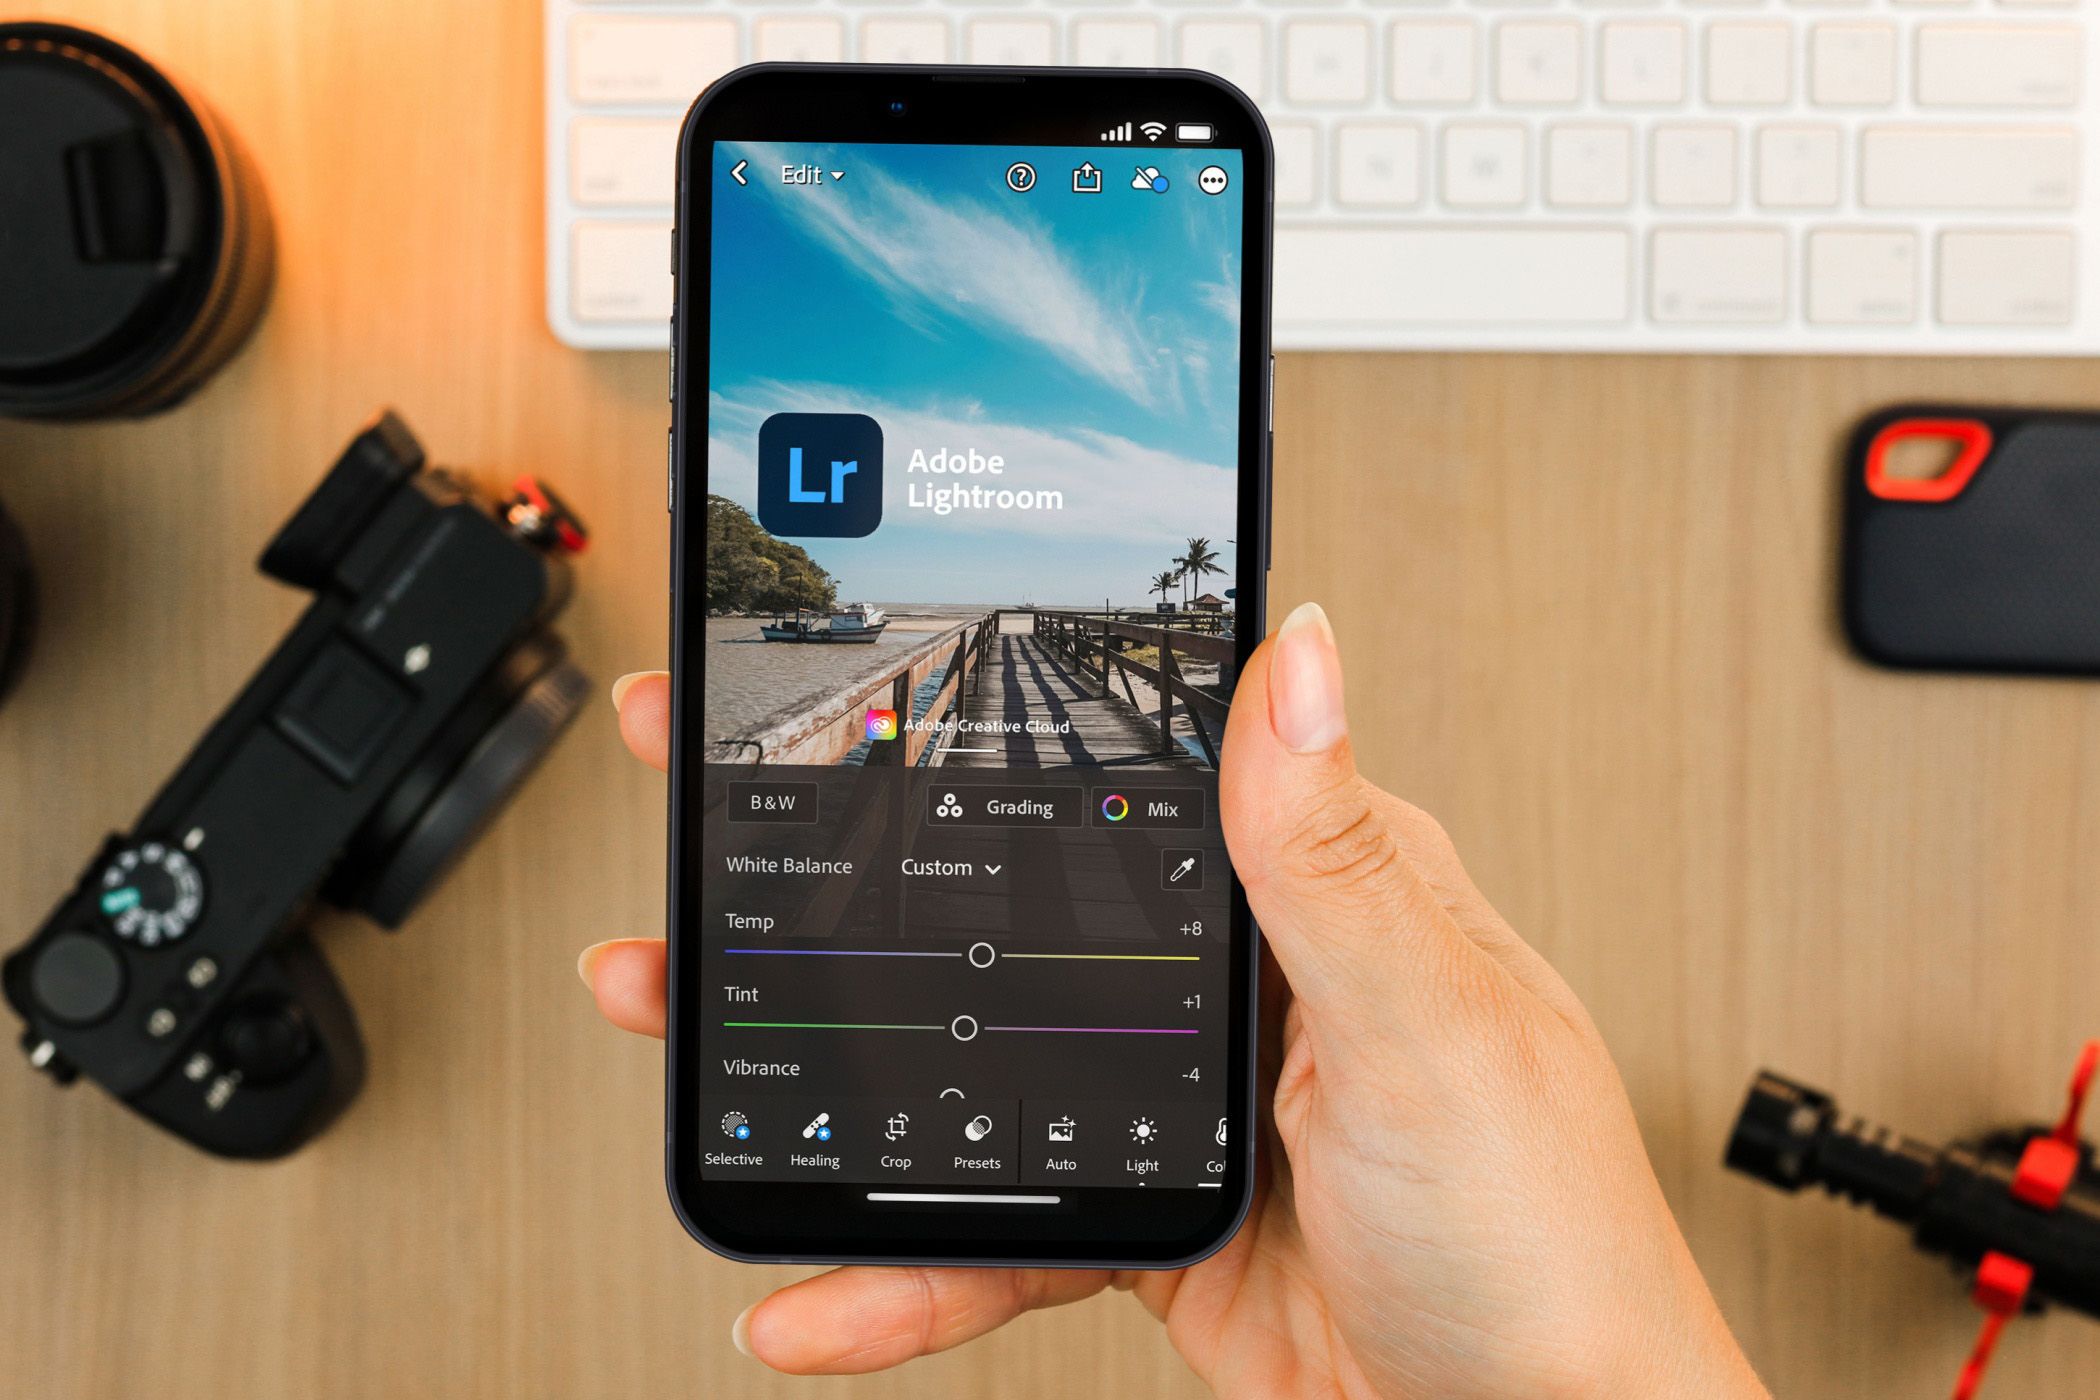
9 Lightroom Mobile Tips and Tricks You Should Be Using
Key Takeaways
- Lightroom’s mobile app has several features that’ll help you edit better pictures from your smartphone.
- Helpful tools include editing RAW files, color grading, and masking.
- You can also search specifically for what you want via the search filter.
The Lightroom mobile app is, in my opinion, by far the best smartphone editing app. You can get even more out of the tool by following these tips, which cover editing RAW files already imported, color grading, and much more.
1 Import RAW Files Onto Your Computer and Edit Them on Your Phone
By far my favorite thing about Lightroom’s mobile app is that you can edit RAW files from your smartphone. I used to do this all the time when I began using Lightroom at the end of 2019, as I was traveling a lot back then and didn’t always have access to a good enough workspace for my computer.
You’ll still get most of the tools that you have on the Lightroom CC computer app, such as color grading (more on that later) and different camera profiles. You can also export images to your smartphone, but I must warn you: when I exported batches of RAW files to my phone, it often consumed over 20% of my battery in one go.
All you have to do is import RAW files onto your computer in the same way you normally would, before opening the Lightroom mobile app once everything has synced. Make sure your devices are connected to Wi-Fi to ensure that everything syncs.
2 Toggle Lens Correction and Chromatic Aberration
Another very simple way to use Lightroom on your smartphone more effectively is to utilize the lens correction and chromatic aberration toggles. These are especially helpful for smartphone photos when the lens often looks disoriented, but I still use them for images taken on my camera as well.
To use them, follow these steps:
- Select the sliders tab in Lightroom and go to Optics.
- Switch the toggles on for Remove chromatic aberration and Enable lens corrections.
Adobe has several great free resources if you’re just getting started with Lightroom, and you should also check out some of the best photo editing tutorial channels on YouTube. One of Lightroom Mobile’s most underrated features is the option to see what others are doing from your smartphone and gain inspiration from them.
In the Community tab, you can see recently uploaded images from other Lightroom users. You can filter these based on travel, landscape, and more. It’s also possible to see how the photographer edited their pictures if you want to emulate their style.
- In the Lightroom app, tap the Community tab.
- Look through the different images available. If you want to divide by category, scroll to the bottom and pick your preferred type of photography.
4 Automatically Import Pictures From Your Device
I often recommend using Lightroom or VSCO for editing smartphone photos, but the cool thing when using Lightroom is that you can automatically import images from your device. This might be a problem if you have a random mixture of pictures, such as screenshots, as it will also import these. But if you specifically use photos in your Camera Roll, this is a handy option.
Here’s how to automatically import pictures from your device:
- Go to the Community tab, tap the three dots icon, and select App settings.
- Select Import.
- Toggle on Photos under Auto Add From Device Photos.
If you’re new to smartphone photo editing, be sure to check out my top fixes for common smartphone photo editing mistakes. That way, you’ll find it much easier to make your images stand out.
5 Take Advantage of Color Grading
Whenever you look at your favorite photographers on Instagram and wonder how they achieved a specific effect, it’s probably color grading. In Lightroom for mobile, you can adjust the hue and saturation in your shadows, midtones, and highlights—along with the entire picture if you want to make global edits.
You can use color grading on RAW and JPEG pictures. Here’s how to use Color Grading in the Lightroom mobile app:
- Tap the Lightroom tab and go to the picture you want to edit.
- Select the sliders tab and go to Color > Grading.
- Edit the color wheels until you’re happy with the result in each. You don’t have to use all of them, so experiment to see which styles you prefer the most.
6 Adjust the RGB Tone Curves
One of my favorite ways to edit my pictures in Lightroom is with the red, green, and blue (RGB) tone curves. This feature is often underrated because it’s quite hard to use if you’re a beginner, and admittedly, I’ve been guilty of overusing each slider in the past. I now use them to great effect, though, and you can too with a bit of experimenting.
The RGB tone curves are similar to the main tone curve tool in Lightroom. Here’s how to use it on your smartphone:
- Go to the image you want to edit in the Lightroom tab.
- Choose Light > Curve.
- Tap on the red, blue, and green dots at the bottom of your screen. Adjust the different areas of your picture until you’re happy with your results.
- Select Done when you’ve finished.
7 Try HDR Mode Editing
HDR Mode lets you edit your image with brighter highlights, and you’ll also notice differences in your shadows. You should use this feature sparingly, but when done correctly, it can be a really helpful tool. To access this feature, follow these steps:
- Go to Lightroom > Light.
- Scroll down to Edit in HDR Mode and switch the toggle on.
- If you feel like it’s necessary, toggle Visualize HDR and Preview for SDR Display on as well.
8 Masking Is Essential for Editing Different Parts of a Photo
I really like to use the Masking feature in Lightroom for adjusting different parts of my picture. The ordinary sliders are great in most circumstances, but they become a nuisance when you only want to adjust the brightness in either one area or for just one or two subjects.
You have several options for masking in Lightroom for mobile, such as choosing a subject or the sky. You can also add your own masks (e.g. linear gradient) and make the required adjustments to your picture. Here’s how to use Masking in Lightroom’s mobile app:
- Go to the image you want to edit and select the Masking tab, which is next to the sliders icon.
- Tap + to add a new mask.
- Choose the type of mask you want to add to your picture.
- Select Create if Lightroom gives an explanation in the next window.
- Mask the areas of your image that you’d like to adjust.
- Change the sliders and whatnot in these areas of your picture.
9 Filter Your Searches
Besides accessing several handy editing features in the Lightroom app, you can also search through your pictures in Lightroom with more accuracy. Filtered searches let you do this, and you can search based on several aspects, like:
- Star rating
- Camera
- Location
- Keywords
Follow these steps to access and use filtered searches in the Lightroom mobile app:
- Go to the Lightroom tab.
- Select the filter icon.
- Add your filters. The app will automatically change your search results to fit what you’re looking for.
Lightroom’s mobile app is excellent for editing pictures taken on smartphones and professional cameras. You’ve got the same tools as in the Lightroom desktop app, and you can even search with more accuracy. By slowly implementing everything in this guide, you’ll maximize how you use Lightroom on your mobile device.