
Why Did Email Stop Syncing on Android? 8 Ways to Fix It
If you haven’t received any emails on your phone for days, your Android device is probably not syncing them. Fortunately, you can resolve this issue easily. We’ll list some troubleshooting steps you can follow when emails don’t sync on your Android device.
1. Ensure Automatic Email Sync Is Enabled
Most email clients have automatic sync enabled so that you can receive emails in real time. However, if you’ve turned off your sync settings in the email app, you will stop getting emails on your Android device.
A simple solution would be to enable the auto-sync option. You can enable auto-sync from the Settings menu of your email app. Here’s what you need to do:
- Launch your email app, such as Gmail.
- Tap the hamburger icon (the three-line button) in the top-left corner and select Settings.
- Choose an email account if you have multiple accounts on your phone.
- Scroll down and ensure you have enabled Sync Gmail or a similar option.
If the sync option is enabled, check whether your device’s Battery Saver mode is on and turn it off. The battery or power-saving mode disables background syncing. To do this, go to Settings > Battery > Battery Saver and toggle off Use Battery Saver.
Remember that settings menus will vary slightly across different devices and Android versions. We also use Gmail for instructions, but you can apply the same tips to other email clients.
2. Perform a Manual Email Sync
If automatic sync doesn’t work for some reason, you can run a manual sync instead. This option works like the regular sync, except you must manually go into the settings and tap an option.
This forces your email app to sync, find, and download new emails to your device. To manually sync your emails on Android, follow these steps:
- Open Settings, scroll down the list of options, and then select About phone. If you use a Samsung phone, go to Settings > Accounts and backup > Manage accounts instead.
- Next, tap Google account.
- From the list of accounts, select your email address.
- On the next page, tap Account sync.
- Next, tap the toggle adjacent to Gmail to disable auto sync, then tap it again to perform a manual sync.
3. Clear Your Android Device’s Storage
When your phone downloads an email, it takes up some space in your device’s storage. If you’re running out of space on your phone, it could be why your emails aren’t syncing (especially when trying to download an email with a large attachment).
You can free up space by deleting unnecessary files from your phone. Here’s how to do this:
- Open Files by Google app on your device and tap the hamburger icon in the top left.
- Select Clean from the options.
- Next, tap Select files under any option to view files you can delete.
- On the next page, individually select the files to delete or tap All items at the top to select all.
- Next, tap Move X files to Trash button and then tap View at the bottom.
- Tap All items at the top to select all files, then select Delete to delete them permanently and free up space.
4. Ensure You Enter the Correct Password on All Your Devices
When you change the password for your email account (and you should always ensure your password is secure and memorable), you must update it in the email app on your phone as well. Otherwise, your phone won’t be able to sync new emails, as it simply doesn’t have authorization to do so.
You can fix this issue by opening your email app and entering your new password. Note that you’ll need to update the password on all the devices that you use your email accounts on. You can use a tool like Google Password Manager to manage your passwords better.
5. Clear the Cache and Data
Like all other apps on your device, your email app saves data and caches files on your phone. While these files don’t normally cause any issues, it’s worth clearing them to see if that fixes the email sync issue on your Android device.
Deleting data and cache files won’t delete your emails; your emails are stored on your email provider’s server. To clear up the cache, follow these steps:
- Go to the Settings dashboard and tap on Apps.
- Select Gmail (You may need to tap See all X apps first), then tap the Storage & cache option.
- You’ll be able to see how much space your email app uses. Tap Clear cache to remove cached data.
You can also select Clear data if you want, but keep in mind this will remove all the app’s data from your phone as if you reinstalled it, and you’ll need to sign in again.
6. Update Your Email App
You should always keep your apps up-to-date for a smooth experience. If it’s been a while since you updated your email app, check if an update is available on the Play Store.
New updates often fix many existing bugs in the app, including syncing issues. Here’s what you need to do:
- Launch the Play Store on your phone.
- Tap your account icon in the upper-right corner and select Manage apps & device from the options.
- Next, tap Updates available.
- If an update is available under the Pending downloads page, tap Update to download and install the update. Alternatively, tap Update all to update all your apps.
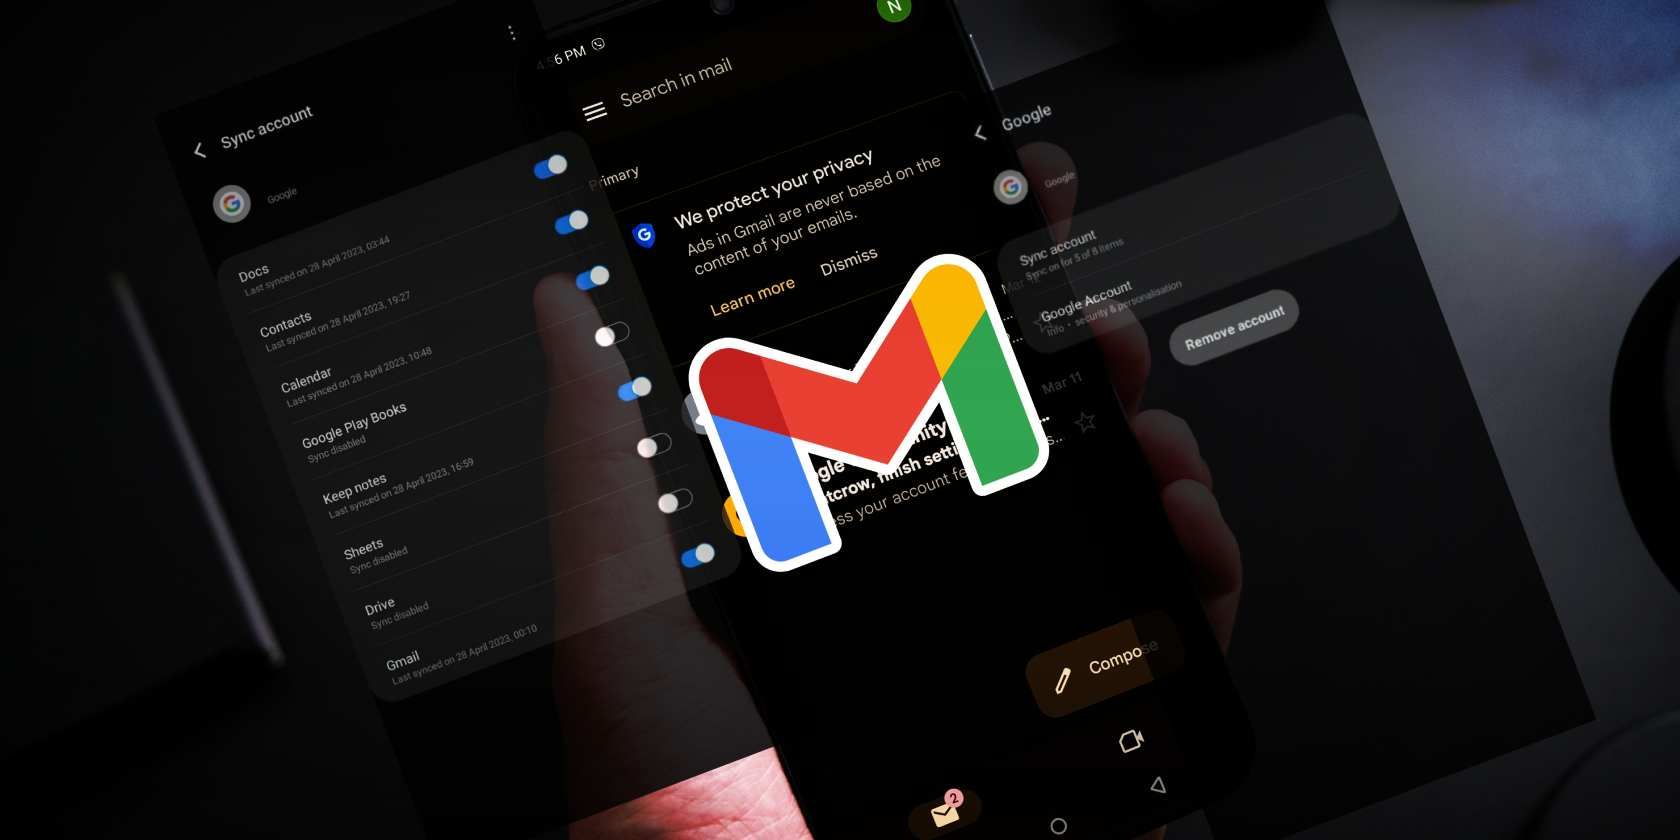
7. Re-Add the Account(s) to Your Email App
If your emails aren’t syncing yet, you may have an issue with account configuration. In this case, removing and re-adding your account to the app could fix it. Here’s how to do this:
- Open Settings, then navigate to About phone > Google account. If you use a Samsung phone, go to Settings > Accounts and backup > Manage accounts instead.
- Select your affected email account under the Passwords & accounts page if you have multiple.
- On the next page, tap Remove account, then tap Remove account from the pop-up to confirm.
- Next, re-add the same account from the Passwords & accounts page by selecting the Add account option at the bottom.
8. Enable Email Notifications
Finally, it’s possible emails are syncing just fine, but your phone isn’t sending you notifications for them. You can fix this issue by making sure you’ve enabled notifications for your email app. Here’s how you can do this:
- Open your app drawer and search for your email app.
- Long-press on the app icon and tap the Info (i) icon to bring up the app details page.
- Tap the Notifications option.
- Toggle on All Gmail notifications. Tweak the notification categories, if available, according to your preferences.
Email apps usually work on Android without any problems at all. But if you’ve been missing your emails because your phone wasn’t syncing them, we hope one of these troubleshooting steps helped you resolve the issue.